If your warm shower time is being interrupted by icy cold water streams, or perhaps your faucet water isn’t getting warm enough to adequately clean your dishes, the chances that your water heater’s pilot light may have been snuffed out is highly probable. So, here you are now left with a water heater’s pilot light that needs to be relit. If you’ve never attempted this before, don’t fret! Relighting a gas water heater doesn’t have to be overly complicated. In fact, it’s a relatively simple process that can save you both time and money if you take care of it yourself. Fortunately, you don’t even have to hire a service expert to do this! With the right tools and instructions, any homeowner can relight their gas water heater and get their warm water running once again!
Follow these directions from yours truly – Gahanna Plumbing & Drain to relight your gas water heater’s pilot light:
WHAT TOOLS WILL YOU NEED TO RELIGHT YOUR WATER HEATER’S PILOT LIGHT?
- A flashlight
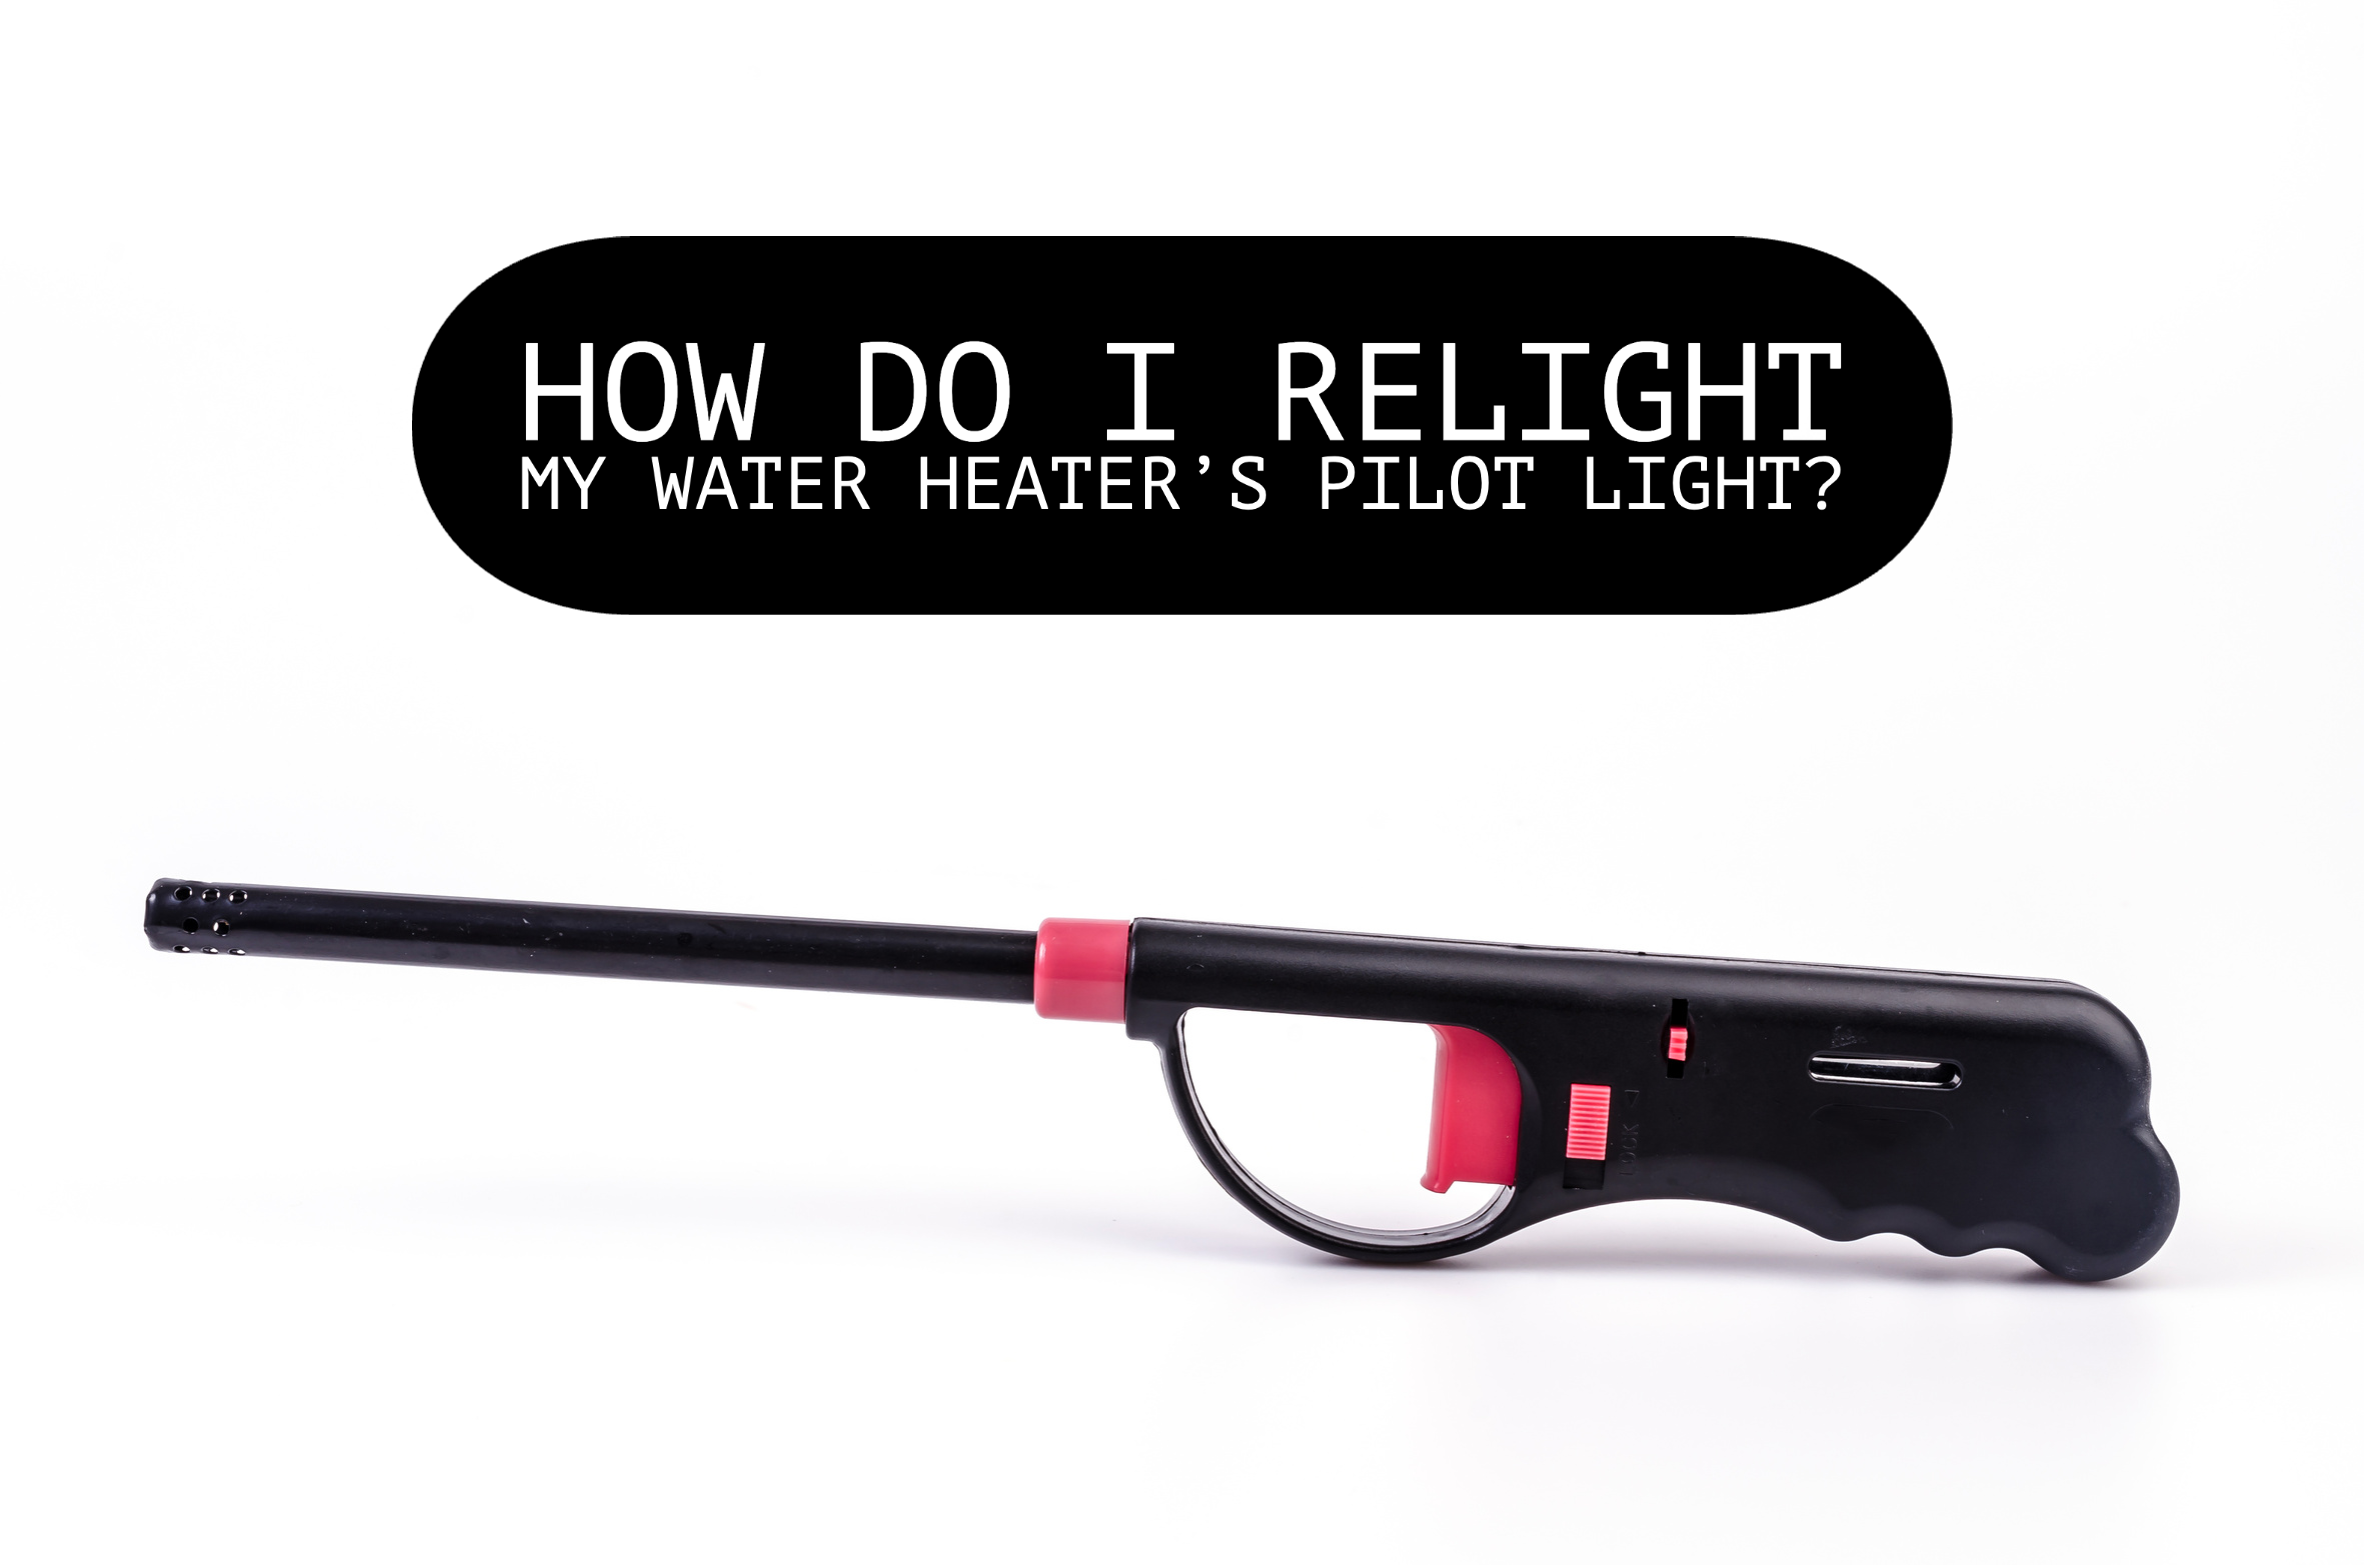
- A lighter (long-reaching lighters or matches are advised)
WHAT STEPS WILL YOU NEED TO FOLLOW TO RELIGHT YOUR WATER HEATER’S PILOT LIGHT?
Step One: Pinpoint the pilot light area. Bear in mind that the pilot light opening is positioned near the water heater’s base on most models. In addition, most models come with a burner cover – a metal panel-like covering or access door. If your water heater does have a burner cover, it will need to be taken off and placed to the side and out of the way.
Step Two: Exercising caution is crucial for your safety and your home’s safety. So, before continuing to the steps listed below, please take time to turn off the gas supply completely. This is imperative because it decreases the chances of potential risks when dealing with gas. Do this by turning the gas valve to the “off” position. In addition, it’s also in your best interests to wait for at least five minutes to pass before continuing on to the steps below. This is because the gas needs enough time to disperse. If you don’t wait for at least five minutes to pass by, so the gas dissipates, you run the risk of potentially causing an explosion or fire.
Step Three: The third step is to clean the area surrounding the pilot light. If your pilot light keeps snuffing and you can’t narrow down why, it could be because the vicinity of the pilot burner has dirt or loose buildup. If this is the case with yours, you can safely clean it using a small brush or toothbrush to gently clean around the pilot burner.
Step Four: After the gas has had sufficient time to dissipate, move on to these next steps:
- To begin the relighting process, rotate the knob on the pilot light assembly to “pilot” in order to allow the gas to flow temporarily into the pilot.
- Grip the “reset” button firmly and press down. While still pressing down on this button, light a flame and bring it carefully toward the pilot burner. Take caution to proceed slowly.
- Once you’re close enough to the pilot flame, it should spark and ignite instantly. As soon as you spot the ignition of the pilot flame, let go of the “reset” switch.
- It is important to take a moment to ensure that the flame stays lit, burning steadily and without issue. The pilot flame should burn with a faint blue hue.
Step Five: Once you have confirmed that the pilot flame is glowing steadily once again, remember to turn the gas valve back on.
Step Six: If you had to take the burner cover off your water heater, make sure it gets returned to its original position.
If you’re still having problems with your water heater’s pilot light, we will be more than happy to handle this problem for you! When it comes to your plumbing system, easing the load is what we do! If you have any other questions or concerns, call Gahanna Plumbing & Drain today at (614) 245-2256, or schedule an appointment online now by clicking here!


